Loose lay installation
 Audio for slide 3 (mp3 |6|KB)
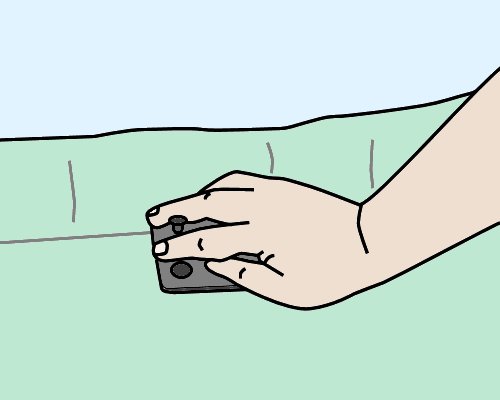
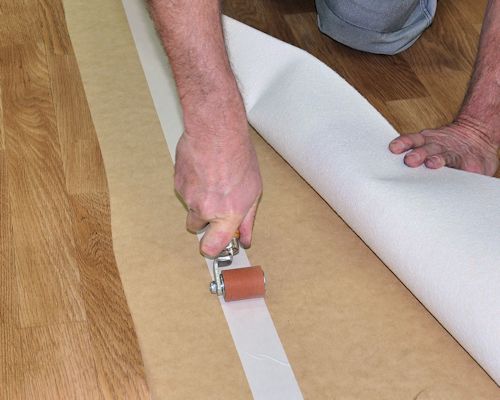
Joins should be cold welded with a chemical seam sealer.
To help secure the seam you can also use double-sided tape underneath.
However, this doesn't mean that you should put tape around the perimeter of the floor.
Although some manufacturers allow this 'perimeter stick' method of securing the edges, there is a risk that the material may buckle if there is any movement in the covering.

 Audio for slide 4 (mp3 |6|KB)
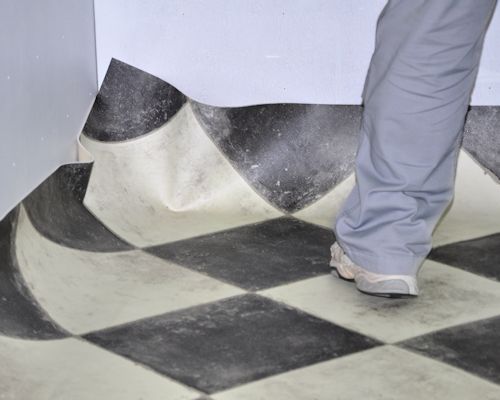
Lay flat vinyl is very stable and won't shrink or curl over time if it's laid properly.
Nonetheless, in prolonged hot weather it can grow slightly.
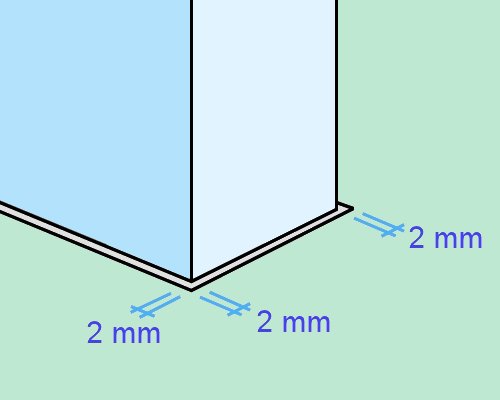
For this reason, you should leave a gap of about 2 mm around the perimeter of the material so that it can't buckle up against skirting, cupboards or door frames.

Nonetheless, in prolonged hot weather it can grow slightly.
For this reason, you should leave a gap of about 2 mm around the perimeter of the material so that it can't buckle up against skirting, cupboards or door frames.

 Audio for slide 8 (mp3 |6|KB)
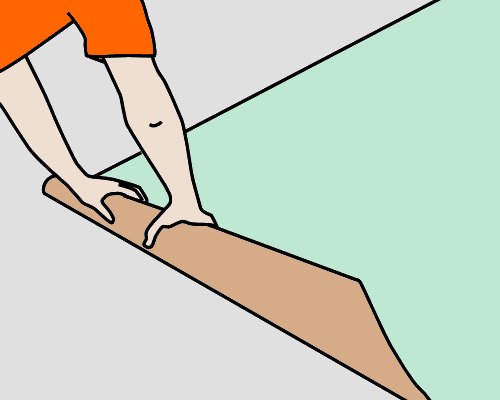
- If more than one sheet is required, fit the larger sheet first. Overlap the second sheet by about 20 mm, or according to the pattern match required. Try to avoid placing seams in thoroughfares.
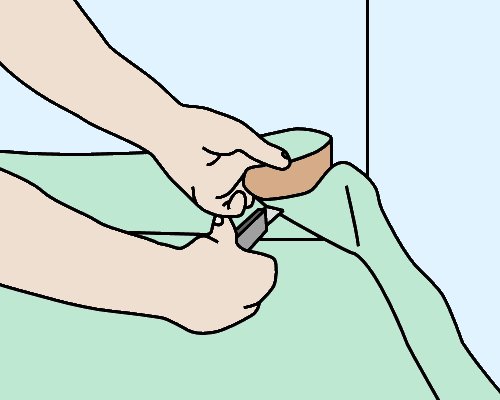
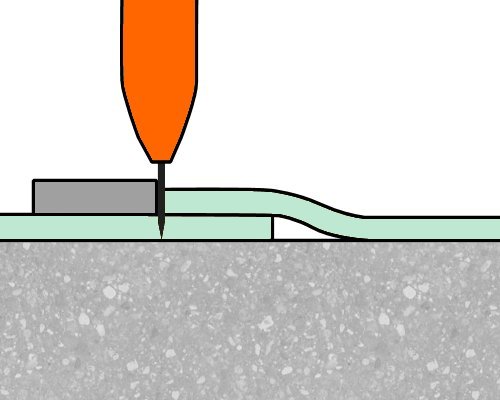
To cut a seam between two sheets, place a straight edge over the overlapping sheets where the cut will go, and hold it firmly in place while you cut as vertically as possible through both sheets.
Note that on thicker vinyls you'll need more than one pass to cut right through both sheets - never force the knife through the material.


Learning activity
Audio 10 (mp3 |6|KB)Follow the link below to see an installation demonstration produced by Gerflor.
Installing Gerflor loose lay vinyl
Watch the video and answer the following questions:
- What tool does the installer use to trim around the walls?
- How does the installer secure the seams? What are the potential risks with using this method around the perimeter of the floor?

Go to Full spread installation

Industry Network Training and Assessment Resourses
© 2023 Workspace Training


