Applying an adhesive
 Audio for slide 1 (mp3 |6|KB)
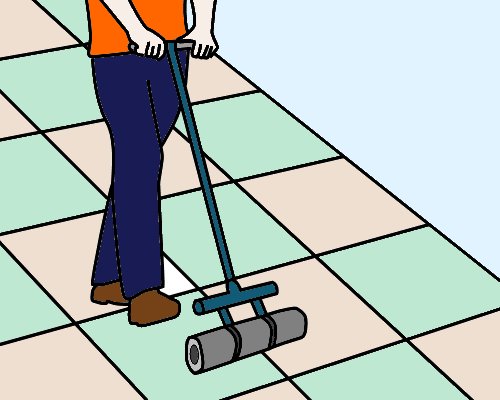
We covered the process of applying an adhesive in Lay flat vinyl, under the lesson Full spread installation. So below we will summarise the procedure in relation to tile installations.
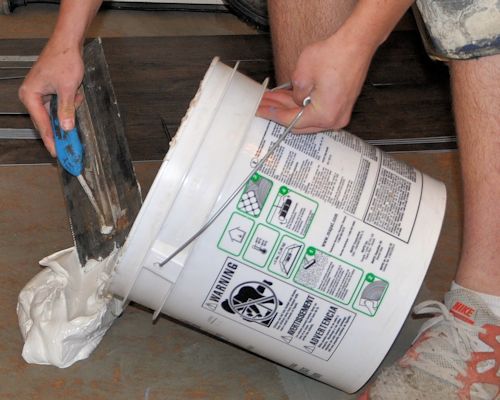
Most adhesives are designed to be spread with a notched trowel.
The purpose of the notches is to control the amount of adhesive that's spread on the substrate.

Most adhesives are designed to be spread with a notched trowel.
The purpose of the notches is to control the amount of adhesive that's spread on the substrate.

 Audio for slide 2 (mp3 |6|KB)
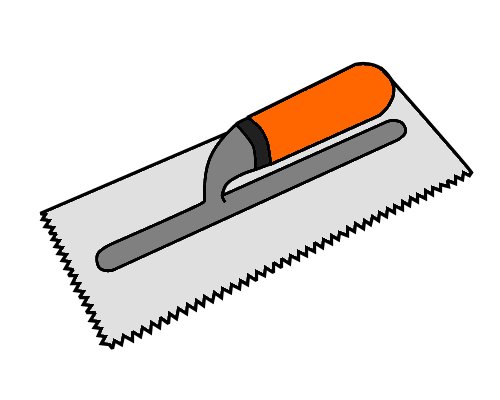
Manufacturers specify different trowel notchings for particular products.
It's important to follow these specifications, because if you don't, you'll end up applying either too much or too little adhesive.
Applying too much adhesive can result in the ridges showing through the surface, or 'bleeding' at the tile joints.
Applying too little will mean that there is less adhesive available for a firm bond, as well as a reduced 'working time' for placement.

 Audio for slide 3 (mp3 |6|KB)
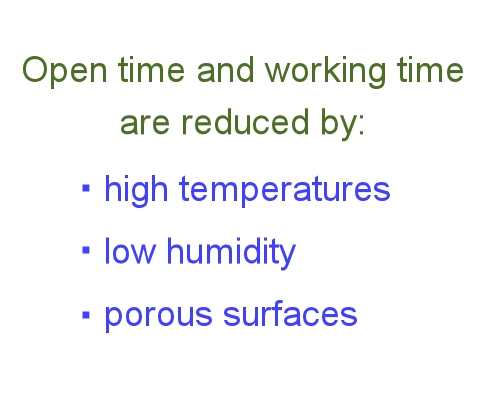
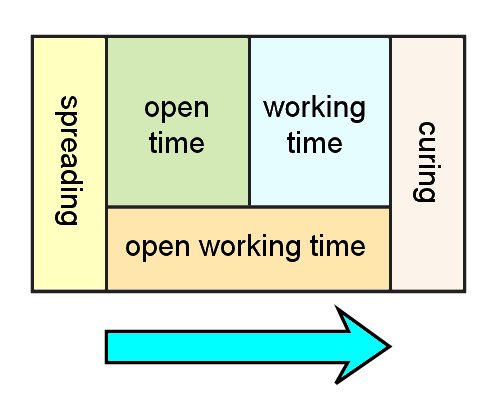
Open time and working time
Once the adhesive has been spread, you need to wait until the open time has elapsed before placing the tiles in position.
This is also called the tack up time, because the ridges in the adhesive start to 'skin over' and become tacky to the touch.
When the adhesive is ready for the tiles to be placed on top, the working time begins.
If you lay the tiles too late, they won't bond properly to the subfloor, because the adhesive will have already 'flashed off', or completely skinned over.
This is part of the curing process, where the adhesive starts to set.

 Audio for slide 4 (mp3 |6|KB)
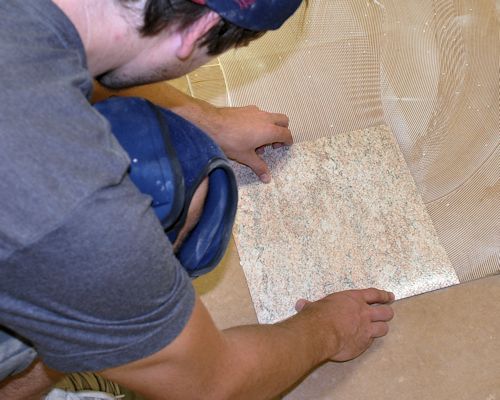
If you lay the tiles too early, that is, before the working time begins, the tile may slide sideways in the adhesive.
But note that some resilient tiles are designed to be laid into adhesive that is much wetter than you'd normally use with sheet vinyl.
This particularly applies to planks and linoleum tiles.

But note that some resilient tiles are designed to be laid into adhesive that is much wetter than you'd normally use with sheet vinyl.
This particularly applies to planks and linoleum tiles.


Learning activity
Audio 7 (mp3 |6|KB) Go to Layouts and bonds

Industry Network Training and Assessment Resourses
© 2023 Workspace Training


