Carpet grippers
 Audio for slide 3 (mp3 |6|KB)
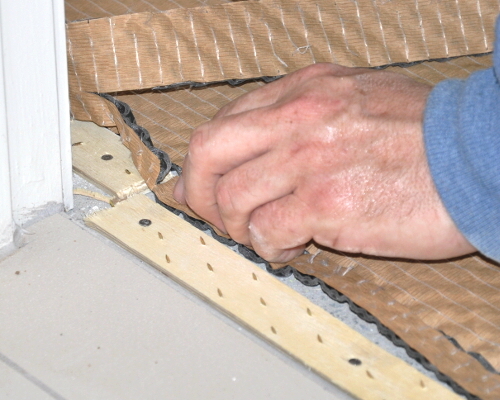
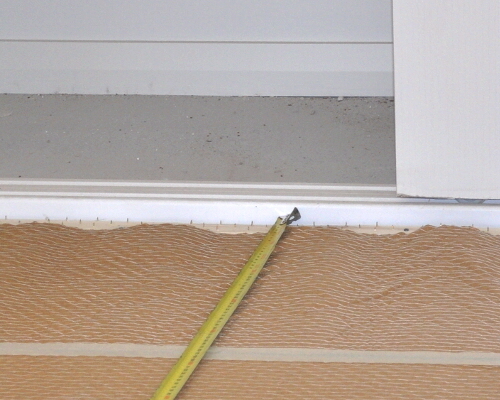
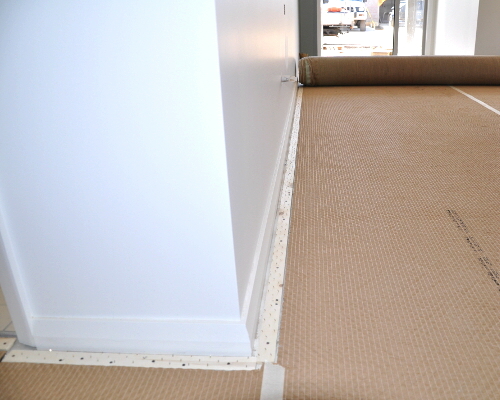
The carpet gripper is installed before you lay the carpet, with the pins facing towards the wall or outside edge of the carpet.
The most common length is 1.220 metres (4 feet).
You can cut these pieces into shorter lengths when finishing against a wall or going around corners.
The lengths can be cut using gripper strip cutters.

 Audio for slide 5 (mp3 |6|KB)
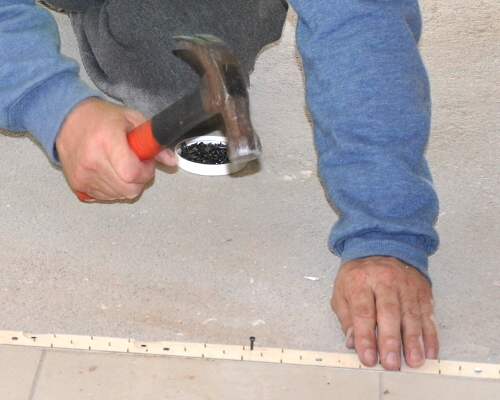
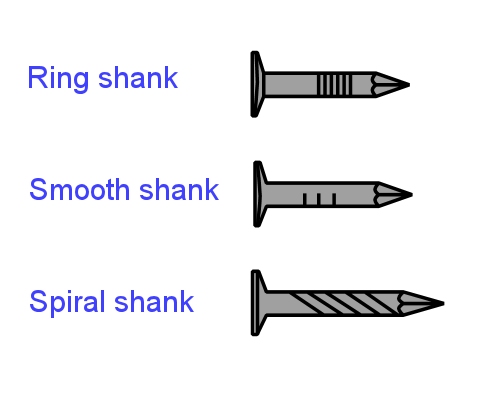
There are different types of nails used for different subfloor materials:
- ring shank nails are designed for timber or plywood subfloors
- smooth shank nails are designed for higher density (harder) concrete subfloors
- spiral shank nails are for lower density concrete, which tends to crumble more around the nail hole.

 Audio for slide 6 (mp3 |6|KB)
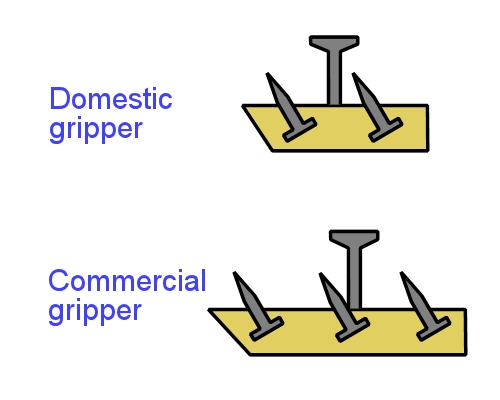
In areas where it is too difficult to use the pre-nailed gripper, 'no nail' or 'standard' carpet gripper is used.
In this case, the gripper strip can be fixed to the floor surface using contact or construction adhesive.
For surfaces such as ceramic tiles, it can be fixed using plugs and screws.
If the subfloor is metal, you can use self-tapping screws.
Also note that on thinner carpets you can use a 'short pin' gripper, which helps to avoid the problem of the pins penetrating too far into the carpet and being felt by bare feet walking over the top.

 Audio for slide 7 (mp3 |6|KB)
The gully
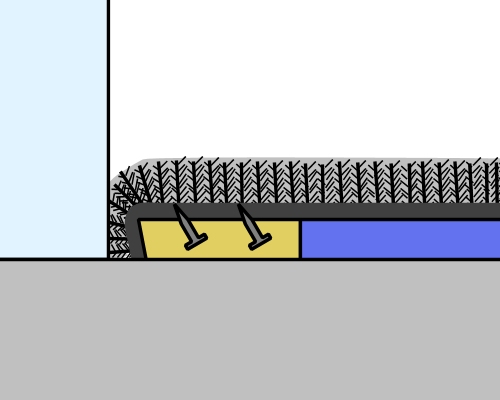
The gripper strip has an undercut bevel on one side which is placed facing the wall.
This gives you a space, or gully, to tuck the edge of the carpet into.
The width of the gully should be about 60% of the thickness of the carpet.
Don't make the gully too wide, because that will cause the carpet to droop at the edge.
Over time, the carpet could also unhook from the pins and loose its tension
Also don't make the gully too narrow, because then you won't be able to tuck in the edge of the carpet.
If you try to wedge or force the carpet into position, you might end up cracking the skirting board.

 Audio for slide 8 (mp3 |6|KB)
Curves and corners
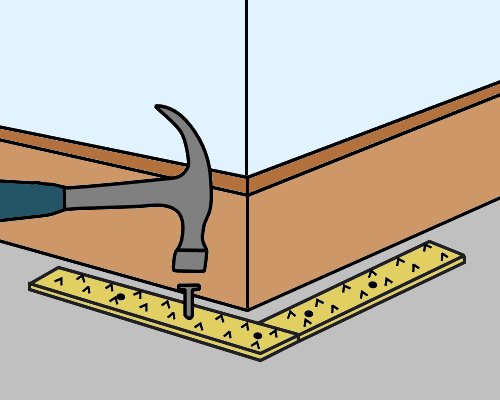
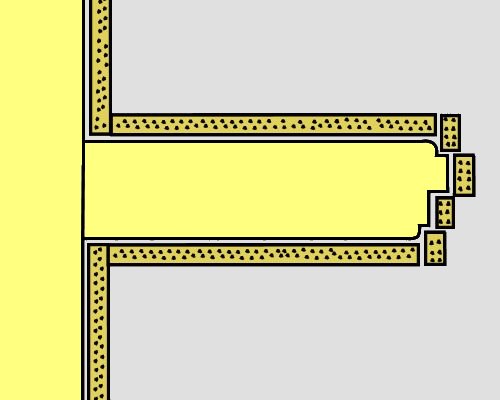
When you're working around curves, doorways and other odd shapes, you still need to maintain an even gully width.
Make sure you secure each piece with at least two nails.
This will stop the piece from spinning or turning when you push the carpet edge into the gully.
If you need to get under kickboards or into other awkward places, you can use a drive bar and heavy hammer to drive the nails into the subfloor.

 Audio for slide 9 (mp3 |6|KB)
Calculating quantities
The most obvious way to calculate the amount of gripper strip needed for an installation is to measure around the perimeter walls, not including doorways and other openings (unless the carpet is butting up against a different floor covering).
However, carpet layers sometimes use a simple rule of thumb to estimate the quantity needed:
For residential installations: allow 0.81 lineal metres for every square metre of carpet
For commercial installations: allow 0.65 lineal metres for every square metre of carpet.


Learning activity
Audio 10 (mp3 |6|KB)Do a measure up of the room you're in right now and estimate the quantity of gripper strip needed for the installation.
Use both techniques described above - measuring the perimeter of the area and using the rule of thumb for residential installations.
Compare the two results.
Refer to 'Making measurements' if you need more information on the calculation techniques.


