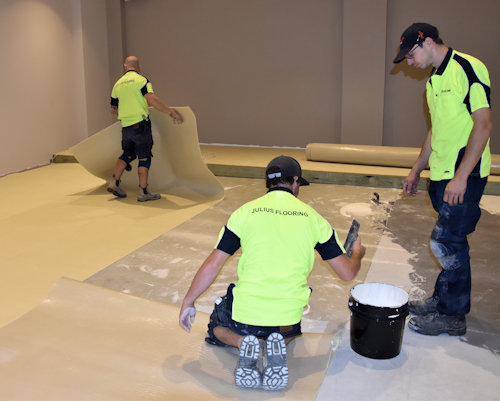
Adhesive
 Audio for slide 3 (mp3 |6|KB)
This feature is particularly useful in high traffic areas where certain sections of covering will need to be removed and replaced when they wear excessively.

 Audio for slide 4 (mp3 |6|KB)
Your final choice of adhesive will depend on a range of factors, including what type of material is being laid, what the substrate is made from and how much wear and tear the floor will be subjected to.
You should also follow the advice of the floor covering manufacturer, unless there are unusual site conditions that must be taken into account.

 Audio for slide 5 (mp3 |6|KB)
In cases where you think that an alternative product will do a better job than the floor manufacturer's recommendation, you should always double-check with the manufacturer first unless you know for sure that it will be appropriate.
Remember, any time that you don't follow the manufacturer's recommendations, you run the risk of voiding your warranty conditions if something plays up later on.

 Audio for slide 6 (mp3 |6|KB)
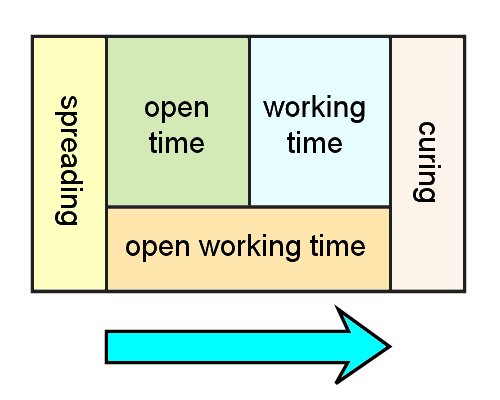
'Open time' and 'working time'
Adhesive manufacturers use the terms 'open time' and 'working time' to describe the chemical changes that begin to occur in the product after you have spread it on the floor.
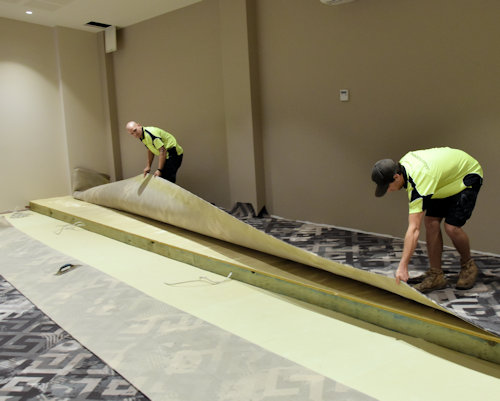
Open time is the time you need to wait before placing the floor covering in position. This is also called the tack up time, because the ridges in the adhesive start to 'skin over'.
But don't wait until it becomes touch dry - for the adhesive to grab it needs to be able to stick to your fingers and pull back when you lift your hand off.

 Audio for slide 7 (mp3 |6|KB)
Working time is the time you have available to lay the material down and complete all cutting and fitting.
If you place flooring into the adhesive after the working time has passed, the flooring won't bond properly.
Note that the open time and working time of an adhesive will vary depending on the temperature, humidity and porosity of the surface.
High temperatures, low humidity and porous surfaces will all reduce these times.

 Audio for slide 8 (mp3 |6|KB)
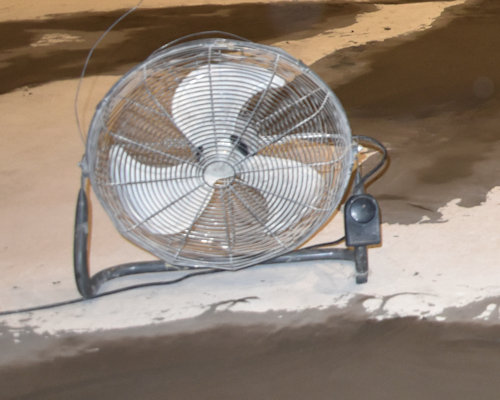
A fan is an excellent way to improve cross ventilation, but you need to be careful that you keep the size of the area manageable when you spread the adhesive, so you don't run out of working time while you're still laying the floor covering.

 Audio for slide 9 (mp3 |6|KB)
For very porous surfaces, such as wood-based underlays, manufacturers generally specify that a primer be applied first with a brush.
This helps to avoid the problem of late placement, where the adhesive has already set and will no longer bond to the flooring covering.
Manufacturers often combine the open time and working time and specify a working open time for their adhesives.
The duration begins when the adhesive is spread and continues through to the time when you should no longer place the flooring into the adhesive.
It particularly applies to adhesives that skin over almost immediately.

 Audio for slide 10 (mp3 |6|KB)
Notched trowels
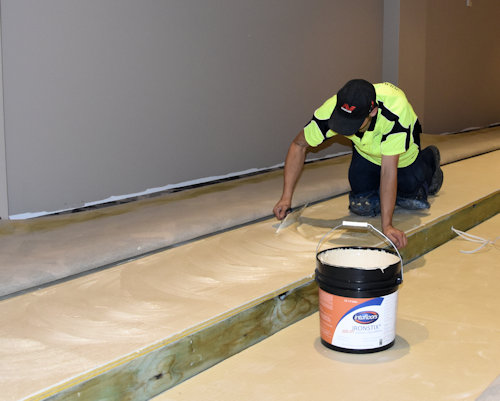
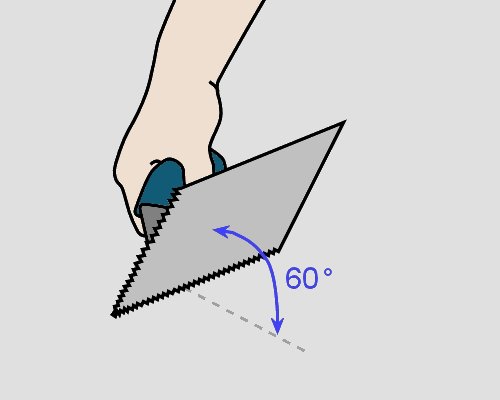
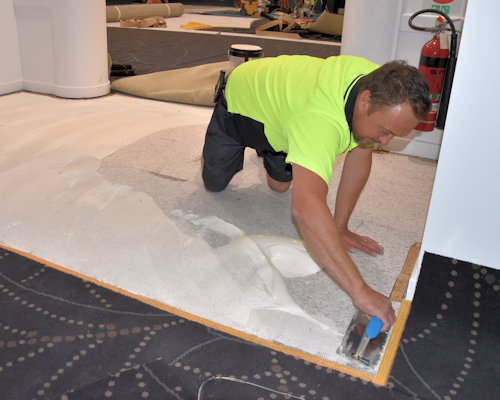
Carpet adhesives are designed to be spread on the floor with a notched trowel.
These trowels have V shaped notches cut into the side of the blade.
Their purpose is to control the amount of adhesive that's spread on the substrate.
Trowels are designed to be held at a 60° angle to the floor while you're spreading.
If the angle is too flat, the ridges in the adhesive will be too low, so there won't be enough to ooze out and fill the spaces when the floor covering is pushed down on top.

 Audio for slide 11 (mp3 |6|KB)
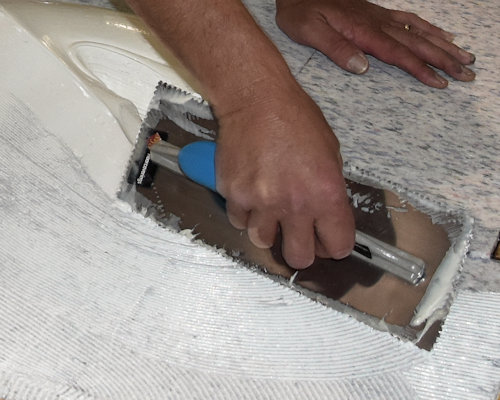
Adhesive manufacturers generally specify the trowel notching sizes for certain products.
It's important to follow these specifications, because if you don't, you'll end up applying either too much or too little adhesive.
Applying too much adhesive can result in the ridges showing through the floor covering surface, or 'bleeding' at the joints.
Applying too little will mean that there is less adhesive available for a firm bond, as well as a reduced working time for placement.

 Audio for slide 12 (mp3 |6|KB)
Over time, the notches in the trowel will gradually wear down and reduce the depths, especially when you're working on cement-based substrates.
So whenever the trowel starts to show signs of wear, it should be replaced.
Alternatively, you can reshape the notches using a triangular file.
Below are the typical notch sizes used for carpets and underlays.

Between subfloor and underlay:
V1 1.6mm x 1.6mm x 1.6mm 
Between sub-floor and smooth back carpet:
V2 2.4mm x 2.4mm x 2.4mm 
Between sub-floor and rough back carpet:
V3 3.2mm x 1.6mm x 3.2mm 
 Audio for slide 13 (mp3 |6|KB)
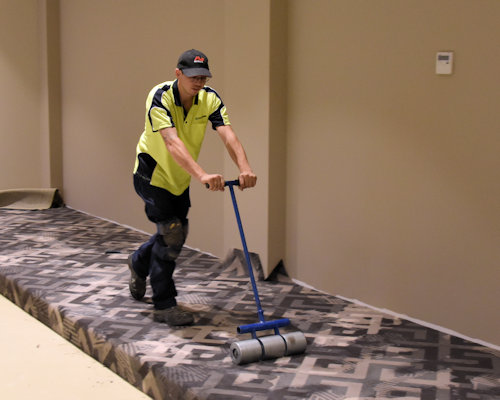
Rollers
Once the floor covering has been placed in position and fitted, it needs to be pushed firmly into the adhesive.
You should do this with a heavy floor roller, running lengthwise and then across the floor.
In areas that can't be reached with a floor roller, use a hand roller.
Be sure to roll the edges and seams properly, because these are the areas where adhesive failures tend to start.


Learning activity
Audio 14 (mp3 |6|KB)Select one adhesive product you're familiar with that is suitable for use in a dual bond or direct stick installation. Provide the following details:
- brand name and manufacturer of the adhesive
- type of adhesive (in terms of its chemical composition)
- tack-up time specified by the manufacturer
- working time specified by the manufacturer.


