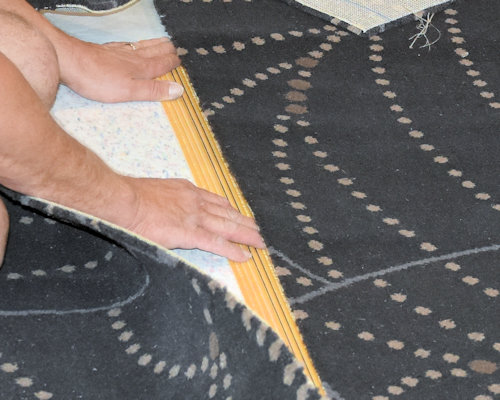
Seaming the carpet
 Audio for slide 1 (mp3 |6|KB)
Below is a description of the general principles that apply to seaming carpet.
You may have already been practising these techniques in conventional stretched-in installations.
The seaming process is much the same for direct stick and dual bond carpets, with some minor variations.
We'll look at the specific issues you need to keep in mind for adhesive-fix carpets in the following sections:
Installing direct-stick carpet

 Audio for slide 2 (mp3 |6|KB)
Seam trimming
To prepare the carpet for seam trimming, bring the rolls into the room and lay them out in accordance with the floor covering plan.
Try to achieve a turn up at the walls of about 50 mm, and an overlap at the seams of 50 to 75 mm.
You can use a knee kicker to help position the carpet.
Adjust the teeth on the knee kicker so that they reach through to the secondary backing.

 Audio for slide 3 (mp3 |6|KB)
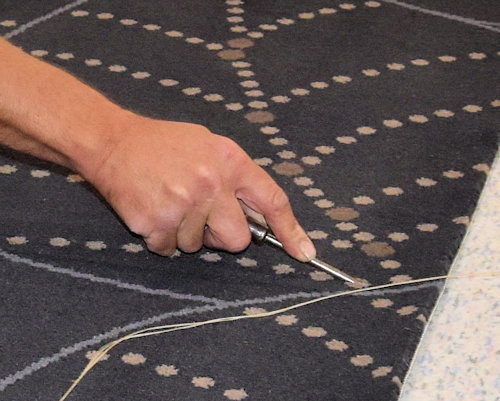
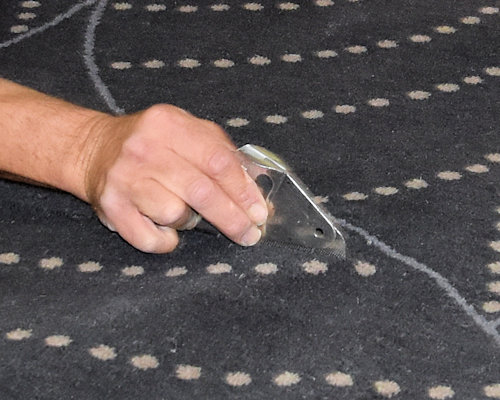
To row cut the seams, find the row you want to cut along by inserting a row finder between the tuft rows forming a line in the face pile.
If you don't have a row finder, you can use a flat-head screwdriver or an awl with a dull point.
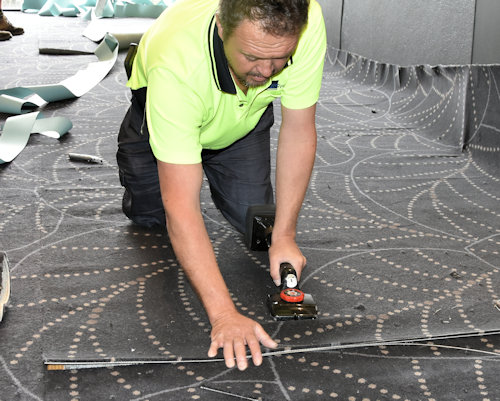
Then slide the throat of the loop pile cutter in between the separated pile rows and push the cutter along the line.

 Audio for slide 4 (mp3 |6|KB)
Make sure the blade in the loop pile cutter is set facing the drop of the carpet, to ensure you achieve a tight seam.
Also adjust the throat to match the thickness of the carpet.
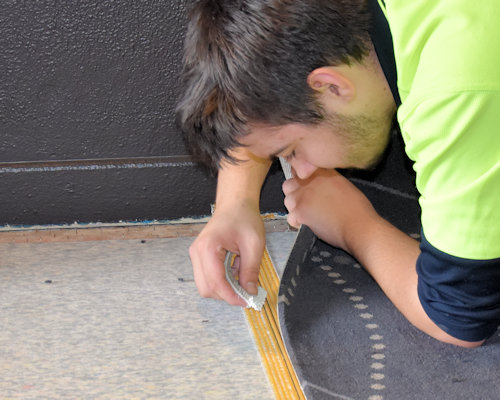
Note that the seam edges of plush and twist pile carpets should be cut from the back of the carpet using a straight edge.

 Audio for slide 5 (mp3 |6|KB)
Applying seam sealer
Before the trimmed edges can be joined in a seam, the yarn must be sealed along the cut edge to stop it from unravelling.
If the installation is a dual bond using hot melt tape under the seam, you should apply a latex seam sealer to both edges before joining them.
If the installation is a direct stick, use a solvent-based seam sealer and run a 3 mm bead along the first edge after you place it into the adhesive.
Then butt the edge of the second sheet into the bead to seal the join.

 Audio for slide 7 (mp3 |6|KB)
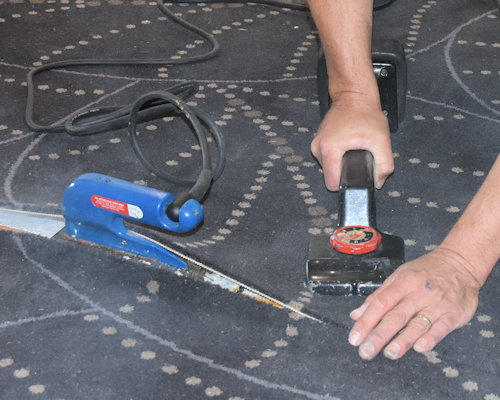
The general process for using hot melt tape is as follows.
- Set the heat regulator on the seaming iron to the lowest temperature that will achieve a full melt of the adhesive.
- Stretch the carpet lengthwise to remove buckles and slackness, and re-straighten the edges with a knee kicker.
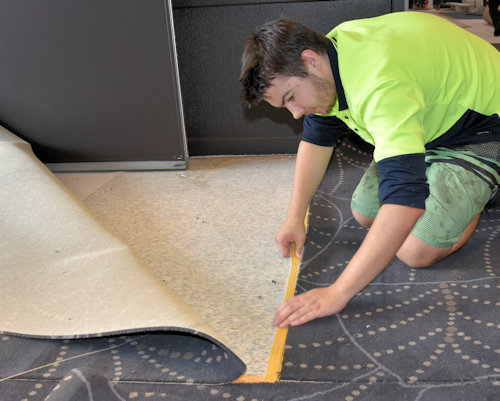
Use 'stay tacks' (also called 'temporary nailing') to hold the join in place while the glue is setting, to keep the pattern aligned. - Position the tape under the centre of the two edges of the seam. Put the iron under the carpet and on the tape. Make sure the heat shield is in place.
- Move the iron slowly in the direction of the pile lay. Feed the two sides of the carpet into the seam by hand behind the iron, before the adhesive cools.

 Audio for slide 8 (mp3 |6|KB)
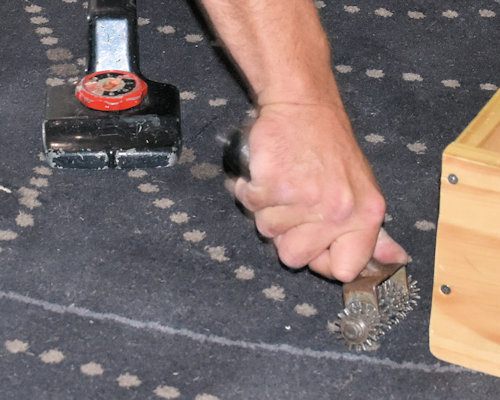
- Roll the seam with a spiky roller if the carpet is loop pile construction. If it is cut pile carpet, use a cut pile roller so that you don't damage the pile yarn tufts.
- Place a board or weight over the seam to flatten the join.
- Trim the loose face from the seam and remove the stay tacks. You can use a spiky roller (rather than your knees!) to find any stay tacks buried in the carpet.

 Audio for slide 9 (mp3 |6|KB)
Using an induction heating system
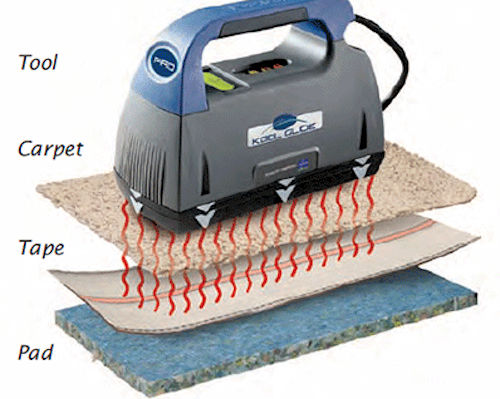
A new method for heating seaming tape is to use an 'induction' heating tool.
This system was pioneered by Kool Glide, which brought the first induction seaming tool onto the market in 2004.
The tool works by 'inducing' an electric current in the hot melt tape by passing a magnetic field through the carpet and into the electrically conductive tape.
This melts the adhesive embedded in the tape without needing to apply any external heat.
One of the main advantages of this system is that there is no smoke and minimal vapours given off by the process, since the induction tool never comes into contact with the adhesive.
Another advantage is the ability to undo or repair a bond by reheating the adhesive after it has already set.


Learning activity
Audio 10 (mp3 |6|KB)Select a seaming iron and answer the following questions in relation to its use. In preference, you should choose the seaming iron you plan to use for your practical demonstration in this unit.
- Who is the manufacturer, and what is the model name?
- What temperature settings does the iron have?
- Which temperature setting will you use for the hot melt tape you'll be installing for your practical demonstration?
- What is the recommended operating speed of the iron at the temperature setting you will be using?


