Cutting and trimming the underlay
 Audio for slide 1 (mp3 |6|KB)
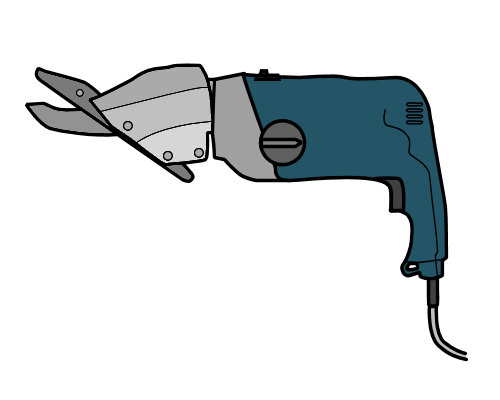
There are various tools that can be used to cut and trim hard underlays to size.
Your final choice will depend on the make-up of the board - in particular, whether it is wood-based or fibre cement.
Different brands of a board type can also be harder or easier to cut, so you will need to take that into account as well.
Below are the main methods for cutting different types of hard underlays.

 Audio for slide 2 (mp3 |6|KB)
Plywood
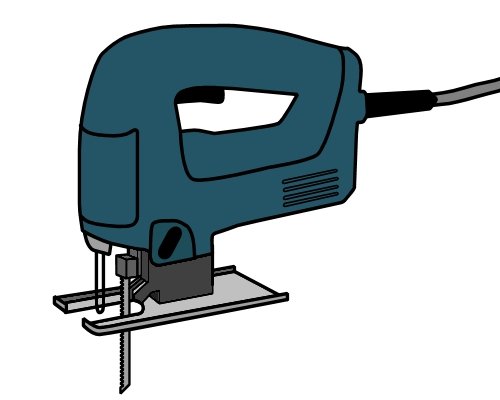
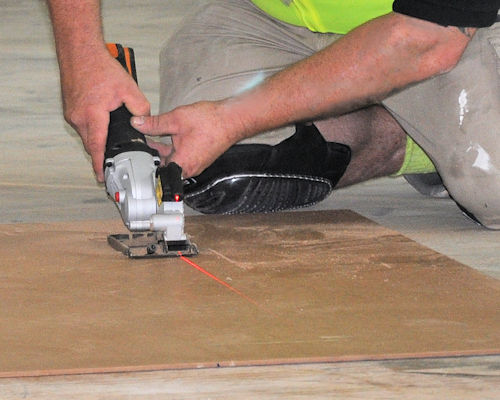
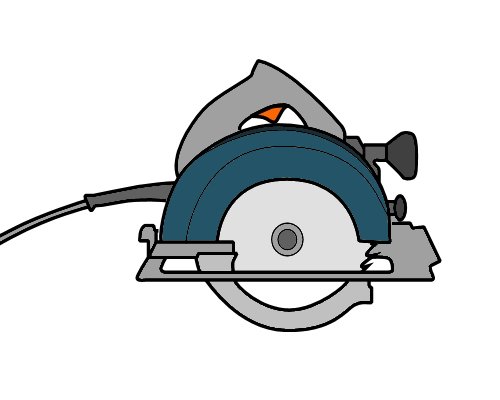
Plywood can be cut with ordinary carpentry tools, such as a handsaw, jigsaw or circular saw.
When using these tools, the sheet must be well supported, with a clearance underneath to allow the blade to move freely.
In the case of a circular saw, you can set the blade depth to just below the underside of the board, so that it cuts through cleanly and skims the supporting bearer underneath.

 Audio for slide 4 (mp3 |6|KB)
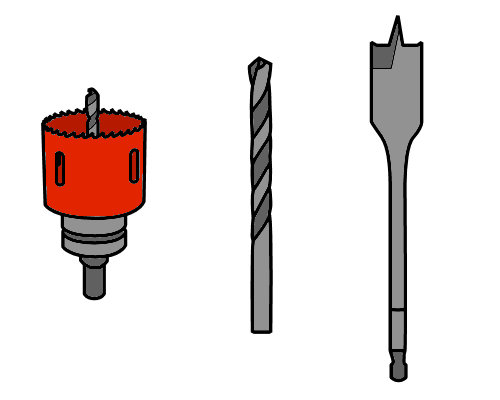
Large holes can be cut using a hole saw in a drill. Smaller holes are drilled using standard spade bits or twist drills.
For more details on approved methods for using these power tools, see the relevant lessons in Section 2: Tools and site safety.

 Audio for slide 6 (mp3 |6|KB)
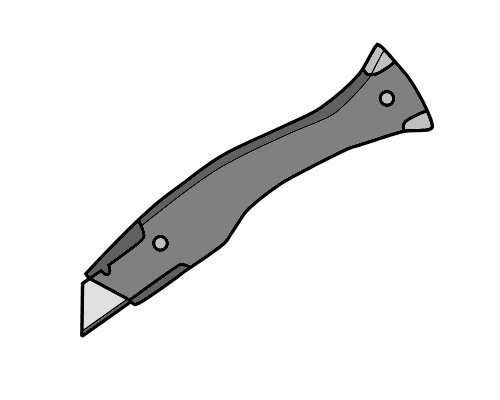
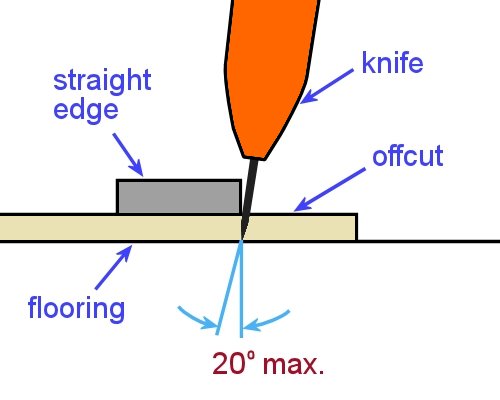
Here is the procedure for cutting hardboard and MDF with a knife:
- Select a sharp blade, either straight or concave
- Use a metal straightedge as a guide
- Angle the blade slightly towards the straightedge (about 15-20 degrees) to ensure that the cut stays tight to the edge
- Score a line in the sheet without forcing the blade in the cut, making sure that your legs, body and other hand are not in the direct line of the cut
- Repeat this action several times to achieve the depth required - about one third of the sheet thickness
- Snap the sheet upwards to break it along the line
- Trim the loose fibres from the cut edge, again keeping your other hand and all other parts of your body well clear of the direction you're cutting in.

 Audio for slide 7 (mp3 |6|KB)
Fibre cement
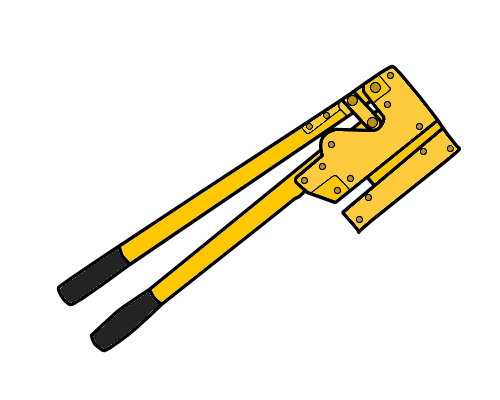
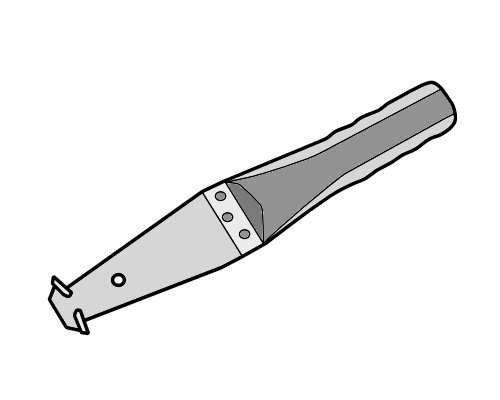
The simplest way to trim fibre cement sheets to size is to use a hand scorer.
The procedure is much the same as described above for using a utility knife - that is, score a line multiple times using a scorer against a straightedge, and then snap the sheet upwards to achieve a clean break.

 Audio for slide 10 (mp3 |6|KB)
Trimming perimeter sheets
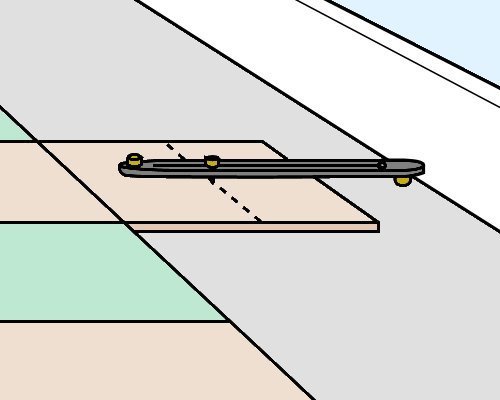
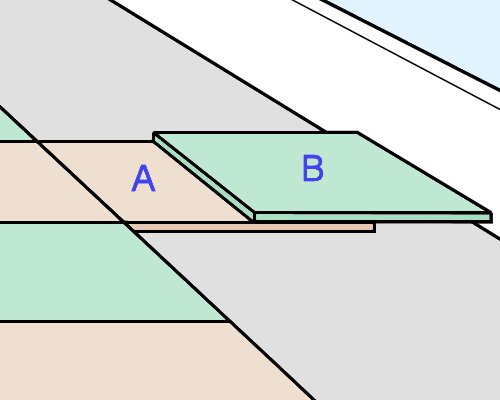
Sheets that need to be cut-to-size around the perimeter of a room can be trimmed by sliding them under the previous sheet and using the overlapped edge as a straightedge.
This is called the 'trace cut' method, and is similar to the 'tile on tile' technique you would use to cut carpet or resilient tiles.

 Audio for slide 11 (mp3 |6|KB)
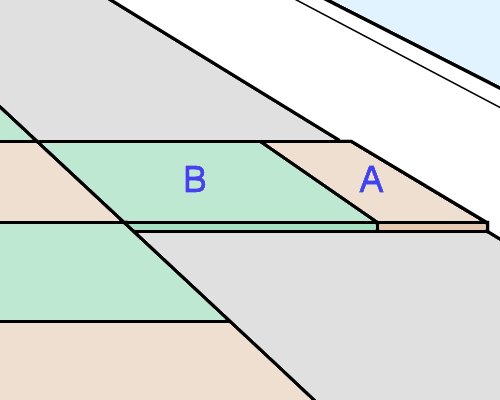
Make sure you put the cut edge (of sheet A) towards the wall, so that the factory-cut edges all face each other.
Note that the wall must be straight to use the trace cut method.
If it's irregular in shape, or there are deviations in the wall, you should use a bar scriber to mark the line for cutting.


Learning activity
Audio 13 (mp3 |6|KB)Trace cutting and bar scribing are both commonly used when laying tiles, and the principle is the same when you apply these techniques to underlay sheets.
There is a third method for marking tiles called 'pattern scribing' - sometimes referred to as making a template.
This is time consuming, but is a very good technique when you need to make accurate cuts around unusual shapes or contours.
Under what circumstances might you decide to make a template for marking out and cutting a hard underlay board?
Name one example of a situation where this method could be used.


