Measuring curves
 Audio for slide 1 (mp3 |6|KB)
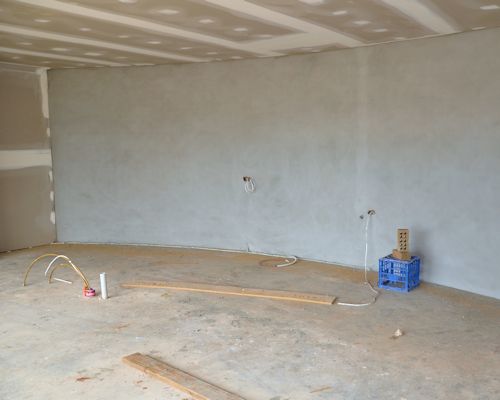
Some floors have curved areas. This might be because the walls are curved, or because there are internal installations such as fireplace hearths or raised stage areas.
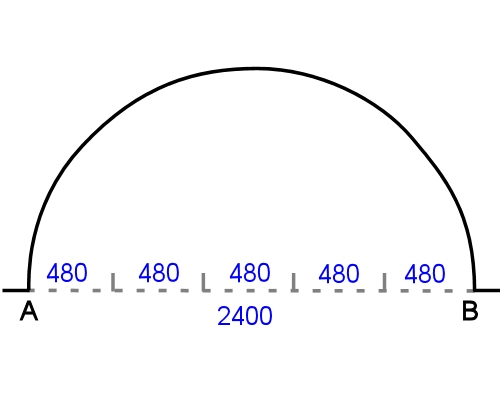
One method of measuring a curve is to divide the shape into smaller parts and form a grid. You can do this on the floor surface itself with a piece of chalk, and then rub off the markings when you've finished.
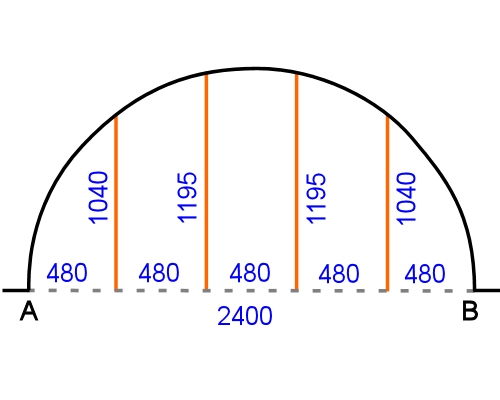
Below are the steps involved in producing a proportional sketch of a curved area.

One method of measuring a curve is to divide the shape into smaller parts and form a grid. You can do this on the floor surface itself with a piece of chalk, and then rub off the markings when you've finished.
Below are the steps involved in producing a proportional sketch of a curved area.

 Audio for slide 4 (mp3 |6|KB)
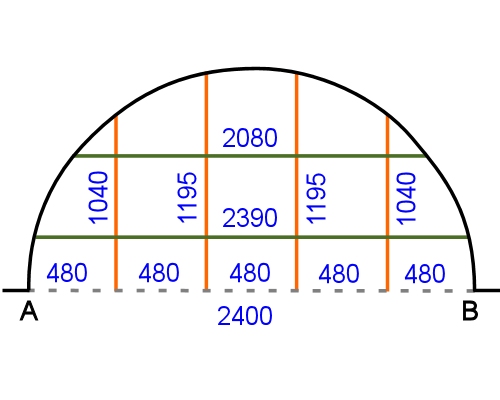
- Run horizontal lines (parallel to the AB line) the same distance apart as the vertical lines, to form a grid.
- Measure each horizontal line and note the measurements on your sketch.
When you get the back to the office, you can use the proportional sketch to plot the points of the curve on the scale drawing.
This will allow you to either draw the curve in a CAD program or use a 'flexi curve' ruler to manually form the shape and draw it with a pen.

Go to Assignment

Industry Network Training and Assessment Resourses
© 2023 Workspace Training


