Laying field tiles
 Audio for slide 1 (mp3 |6|KB)
Once you've marked out the working lines on the substrate, you can commence the laying process.
Before you start:
- double-check that the floor is completely clean and free from any contaminants
- re-mark the chalk lines with a pencil, if necessary
- make sure that tiles of the same colour have a matching batch number if they're being laid in the same room.

 Audio for slide 2 (mp3 |6|KB)
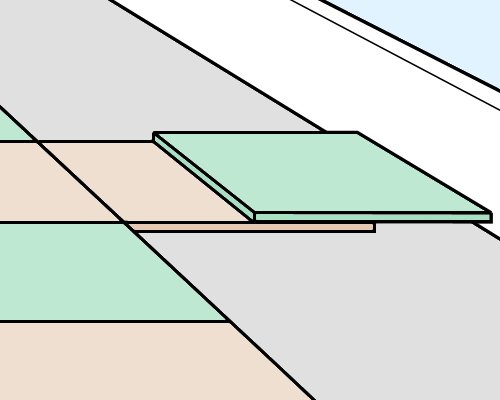
The field tiles should always be laid first, because the border tiles will need to be cut and fitted to the wall before you can lay them.
In practice, it's easiest to leave the last two rows of tiles till last - that is, the last full tile and the border tile.
This will let you use the full tile to trace and cut the border tile - we'll discuss this process in the next lesson.

In practice, it's easiest to leave the last two rows of tiles till last - that is, the last full tile and the border tile.
This will let you use the full tile to trace and cut the border tile - we'll discuss this process in the next lesson.

 Audio for slide 3 (mp3 |6|KB)
To lay the field tiles, working from the centre of the floor:
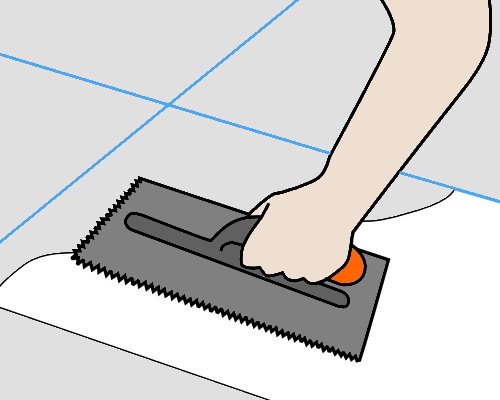
- Spread the adhesive with a trowel, two tiles wide on one side of the long working line
Start at the intersection of the two working lines.
Make sure you only spread as far as you can comfortably cover with tiles during the 'open time' - maybe 2-3 m2 at a time.

 Audio for slide 4 (mp3 |6|KB)
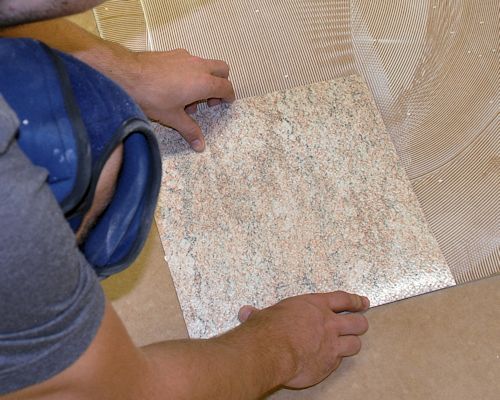
- Allow the adhesive to reach a slight tack, and then position the first tile at the starting point and check its alignment.
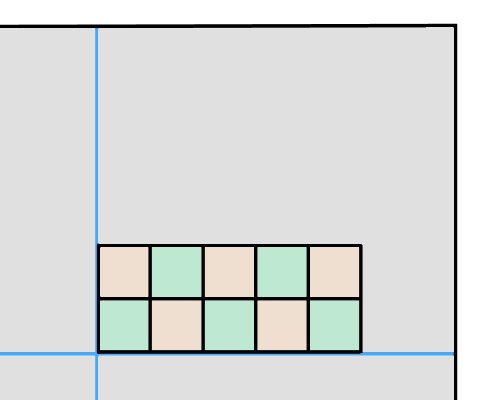
Add two more tiles in the direction of the end wall and carefully check their alignment against the working line.
Lay more tiles until you get to the end of the spread adhesive.

 Audio for slide 5 (mp3 |6|KB)
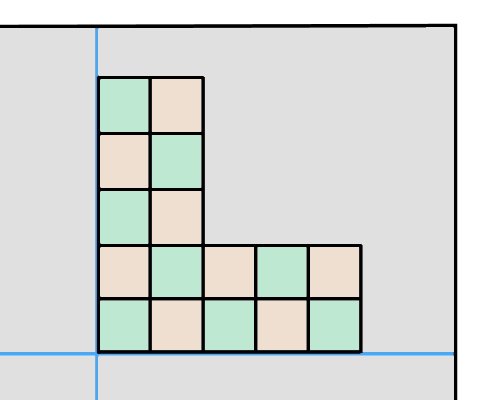
- Spread more adhesive, this time in the direction of the side wall, two tiles wide. Lay two rows of tiles over the spread adhesive. Continue to build up the floor in alternate directions, two rows at a time.
At this stage, don't lay the last full tile and part tile around the walls, or anywhere else where tiles will need to be cut.
Wipe off any excess adhesive with a damp cloth if it has oozed up between the tiles. Roll the installed tiles in both directions with a roller.


Learning activity
Audio 6 (mp3 |6|KB)Choose a brand of vinyl tile and a compatible brand of pressure sensitive adhesive. Find out the following information by researching it on the web or in the manufacturers' brochures and fill in the details.
- Vinyl tile product name and manufacturer
- Adhesive product name and manufacturer
- Drying time details for the pressure sensitive adhesive, and how that will govern the way you lay the tiles.

Go to Laying border tiles

Industry Network Training and Assessment Resourses
© 2023 Workspace Training


