Preparing the floor
 Audio for slide 1 (mp3 |6|KB)
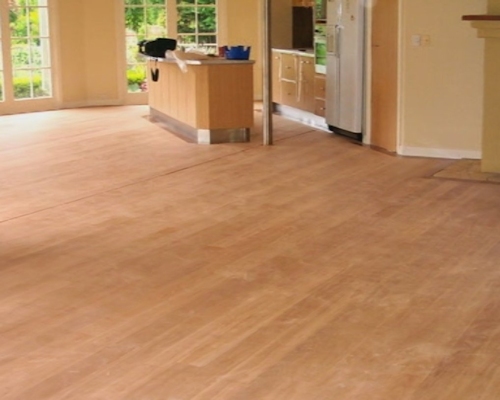
Every timber surface needs to be properly prepared before you put a paint, stain or other coating on it.
Timber flooring is no exception. The better your preparations are, the better the finished job will be.
As is always the case with any new job, it's imperative that you carefully inspect the substrate to make sure there are no underlying issues that might cause problems later.

Timber flooring is no exception. The better your preparations are, the better the finished job will be.
As is always the case with any new job, it's imperative that you carefully inspect the substrate to make sure there are no underlying issues that might cause problems later.

 Audio for slide 2 (mp3 |6|KB)
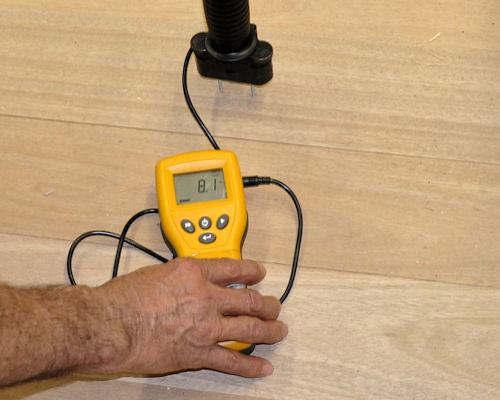
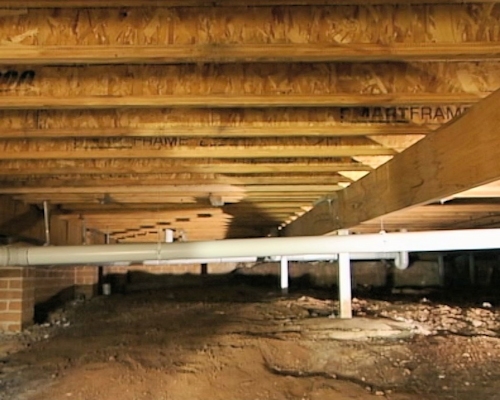
Most of the serious problems occurring in timber floors are related to moisture content.
You'll find more information on these issues in the unit: Inspecting and testing subfloors.
If you do find something that looks like it might cause trouble later, don't ignore it.
Remember, as a professional installer, it's your responsibility to decide whether the job is ready for you to proceed.

You'll find more information on these issues in the unit: Inspecting and testing subfloors.
If you do find something that looks like it might cause trouble later, don't ignore it.
Remember, as a professional installer, it's your responsibility to decide whether the job is ready for you to proceed.

 Audio for slide 3 (mp3 |6|KB)
You'll be doing everyone a favour in the long run, including the owner, the original floor layer and yourself, if you raise any potential problems before you start, so they can either be fixed by the previous contractor or inspected by a specialist.
Below are the main preparations that either you or the floor sander should have completed before the floor can be coated.

Below are the main preparations that either you or the floor sander should have completed before the floor can be coated.

 Audio for slide 5 (mp3 |6|KB)
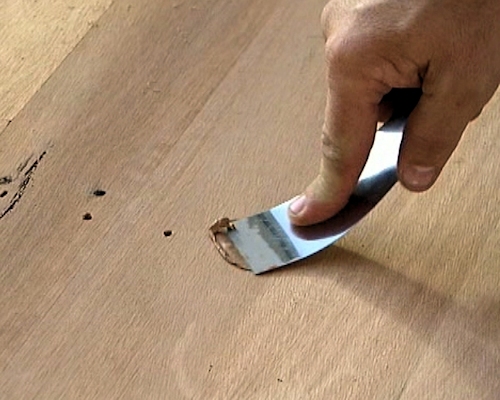
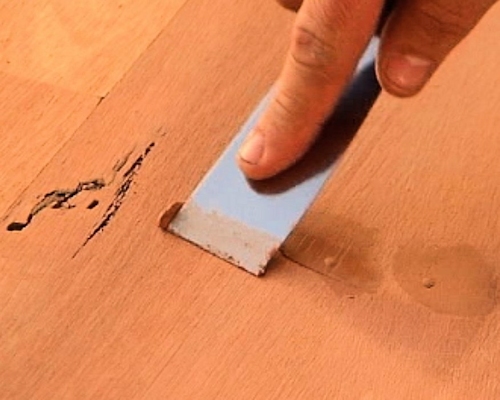
This avoids the problem of the filler bleeding into surrounding wood fibres, or drying out too quickly as the timber sucks moisture out of the filler.
Either way, it's important to make sure that the filler is compatible with the coating system that will be applied.
Check that the filler completely fills the hole, so it doesn't later crack or come loose.

Either way, it's important to make sure that the filler is compatible with the coating system that will be applied.
Check that the filler completely fills the hole, so it doesn't later crack or come loose.

 Audio for slide 6 (mp3 |6|KB)
Sanding the floor
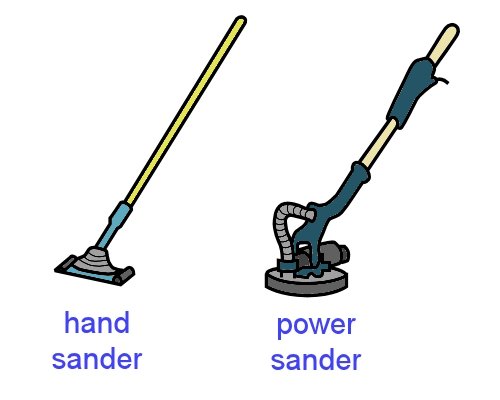
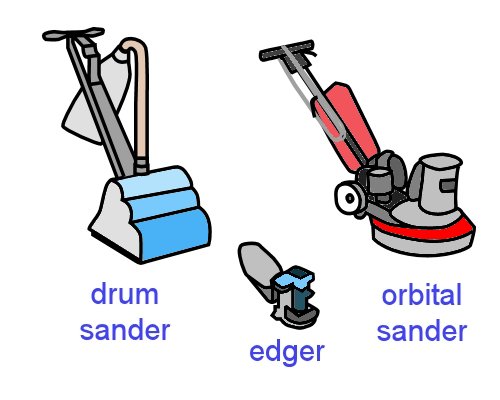
The sanding process is carried out with a range of machines, such as:
- drum sander, for the level or basic sand, which is designed to remove high points and ridges
- disc sander or 'edger', for working around skirting boards and into corners
- rotary or orbital sander, for the finish sand, which smooths off any coarse sanding marks and smooths the floor, ready for coating.

 Audio for slide 7 (mp3 |6|KB)
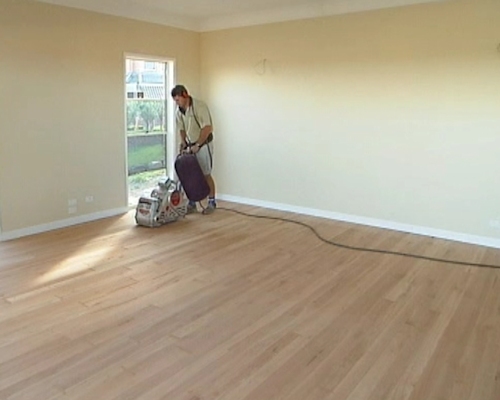
The number of passes required, and the grades of sandpaper used to complete each stage, will depend on the condition of the floor and the hardness of the timber species.
Between each sanding pass, the floor needs to be vacuumed thoroughly to remove all dust and dirt.
Special attention must be paid to cracks or other dust traps that might hold particles.

Between each sanding pass, the floor needs to be vacuumed thoroughly to remove all dust and dirt.
Special attention must be paid to cracks or other dust traps that might hold particles.


Learning activity
Audio 9 (mp3 |6|KB)There are several competencies in your Flooring Technology course that cover the various processes involved in sanding timber and cork floors.
If you haven't undertaken any of these units yet, you may not be familiar with the different machines and techniques used.
In this case, watch the video clip linked below and answer the questions underneath. If you have done this sort of work before, you may answer the questions from your own experience.
Video clip:
'How to sand a timber floor using Hiretech floor sanders'
- How do the workers stop dust from floating into other rooms?
- What grade of sandpaper is recommended for the first cut with a drum sander if the floor is old and in poor condition?
- What grade of sandpaper should be used on the first cut if the floor is new?
- What range of grades are recommended for the finish sand with the orbital sander?

Go to Applying the coating

Industry Network Training and Assessment Resourses
© 2023 Workspace Training


