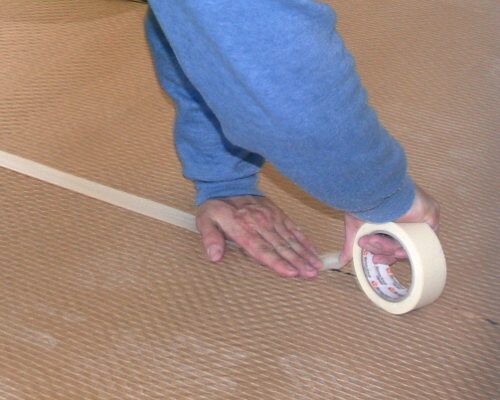
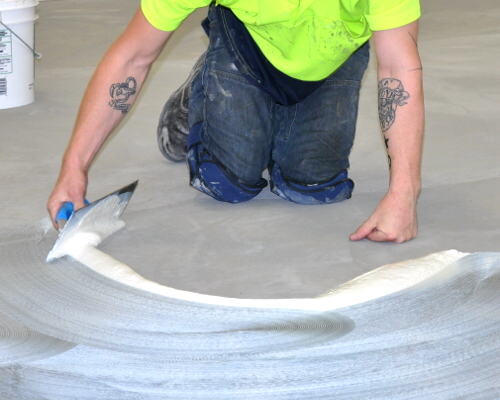
Laying techniques
 Audio for slide 1 (mp3 |6|KB)
Every manufacturer publishes installation guides for their underlay products.
You should always follow these recommendations, because they'll not only help you to do the job properly, they may also form part of the warranty conditions.
This means that if there is ever a complaint at some time in the future relating to the underlay, the manufacturer will be on your side as you negotiate a solution with the customer.
Below are some general techniques used to install cushion underlays.
Note that if any of these practices differ from the specific guidelines issued by the manufacturer, you should always follow the manufacturer's advice.

 Audio for slide 2 (mp3 |6|KB)
Planning and preparing
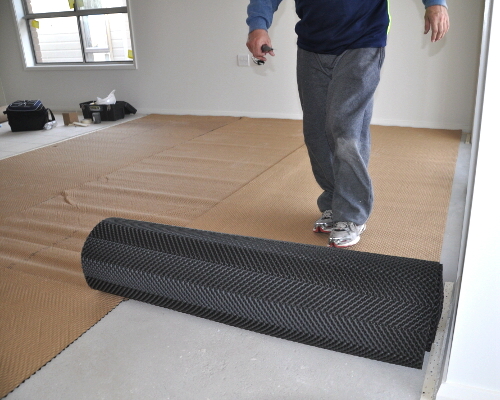
The first step in deciding which way to roll out the cushion is to figure out where the seams will fall in the carpet.
Then lay the cushion so that the seams are at 90 degrees to the carpet seams.
If that's not possible and the seams need to run in the same direction, try to keep them at least 300 mm away from the carpet seams.

 Audio for slide 3 (mp3 |6|KB)
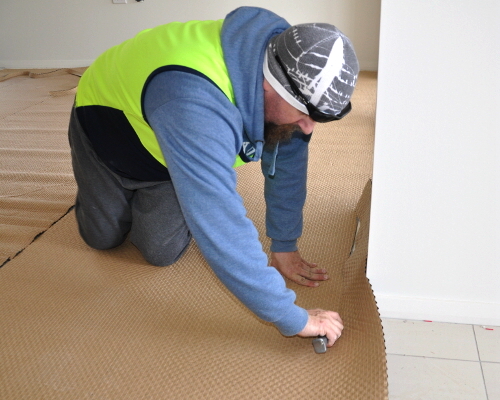
Make allowance in the width and length of the cushion for trimming it flush with the gripper strip.
If you start by cutting it to the room size, you will have enough allowance for trimming.
Don't forget to include door drops in your measurements.
Manufacturers often specify that the cushion should be unrolled and left to acclimatise in the area where it will be laid.
This allows it to 'relax' as its moisture content adjusts to the humidity of the surrounding air.
Depending on the product and the manufacturer's recommendations, the acclimatisation period might be three hours or even overnight.

 Audio for slide 4 (mp3 |6|KB)
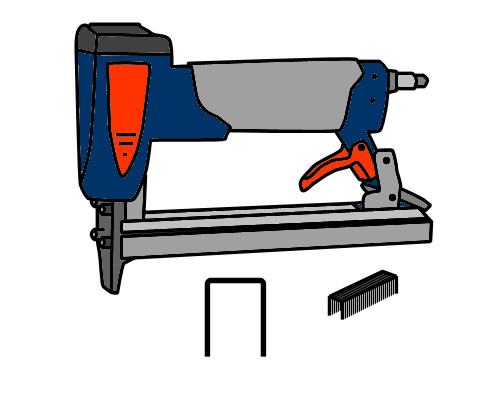
Using staples
On wood floors, use stapes to fix the cushion to the floor.
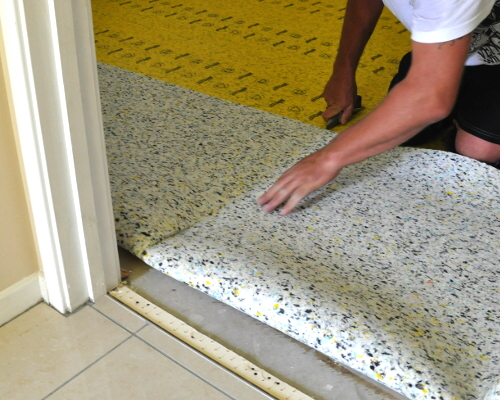
Start with a straight wall and butt the underlay up against the gripper.
If there is no straight wall, lap the cushion over the gripper, staple it in position, and use a knife to trim it.
Smooth out the cushion before you staple it.
You can do this by hand for most materials, but for felted cushion you may find it easier to use a knee kicker.

 Audio for slide 7 (mp3 |6|KB)
Calculating quantities
In theory, the amount of underlay you'll need will be the same as the total carpet metreage.
In practice, though, many carpet layers like to estimate the underlay quantity by taking the carpet metreage and subtracting 10%.
This is because you are able to re-use waste pieces without them showing.
However, using small pieces can cause its own problems, so you should still try to keep all pieces as large as possible.


Learning activity
Audio 8 (mp3 |6|KB)Some manufacturers make a carpet cushion with the underside already coated with pre-applied adhesive, covered with a release film.
Have you used this type of cushion before? If so, what brand was it and who made it? If you haven't used one before, do some research and find a brand name product. Write down its name and manufacturer.


