Dual bond installation techniques
 Audio for slide 1 (mp3 |6|KB)
We have covered the preparations for subfloors in Section 1 of this unit (Preparing for installation), and the preparations for underlay and carpet in Section 3 (Basic carpet installation principles), including acclimatising them to the room conditions.
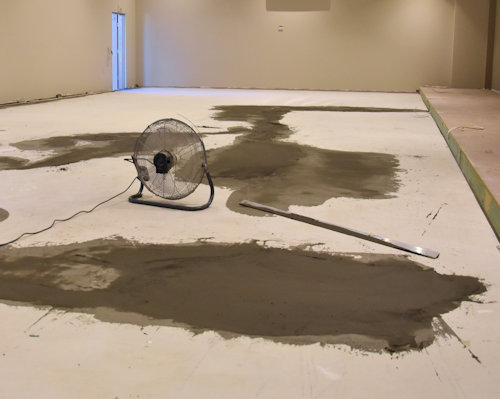
Make sure that if an underfloor heating system has been installed, it has been turned off at least 48 hours before you're ready to spread the adhesive, and is left off until the adhesive has set.

 Audio for slide 2 (mp3 |6|KB)
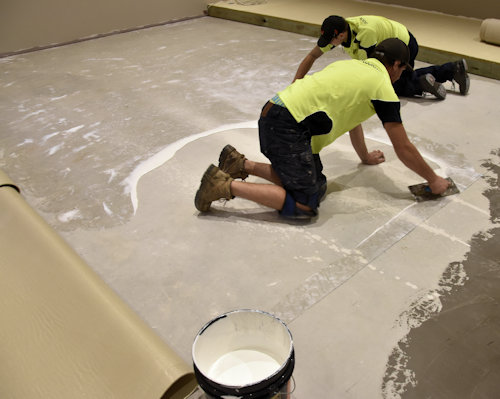
We've talked about different types of adhesives available for dual bond installations, and the fact that some people prefer to use a 'pressure sensitive' product to stick down the underlay.
This is an excellent choice for floor coverings that will be subjected to heavy wear and may need to be removed and replaced in certain areas.

 Audio for slide 4 (mp3 |6|KB)
Installing the underlay
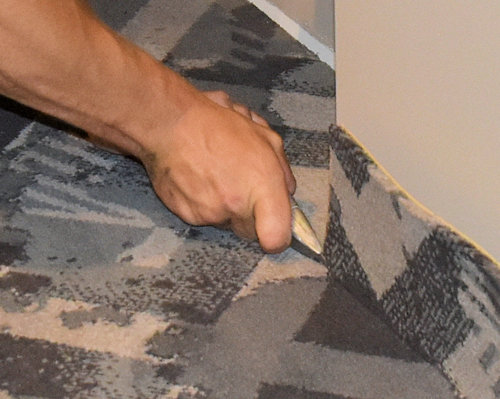
If you are not using carpet grippers in this installation, you should trim the underlay to fit tightly around the perimeter walls.
If you are using grippers, see Section 3 on the general installation procedure.
Make sure all underlay seams are butted neatly without any compression.

 Audio for slide 5 (mp3 |6|KB)
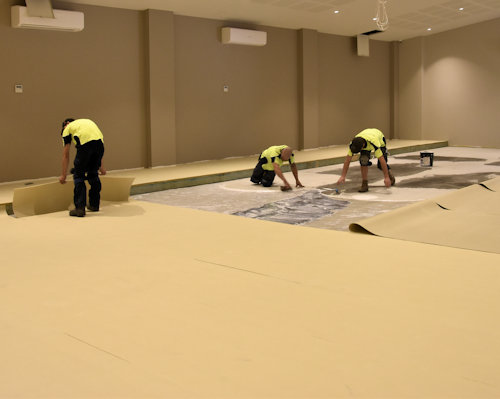
Fold one half of the underlay back on itself to expose the subfloor underneath. Pour a quantity of adhesive on the floor and spread it with a notched trowel.
Make sure you use the correct trowel size, as specified by the adhesive manufacturer.
Remember to hold the trowel at 60 degrees to maintain the right consistency, and go right to the edges and into corners.

 Audio for slide 6 (mp3 |6|KB)
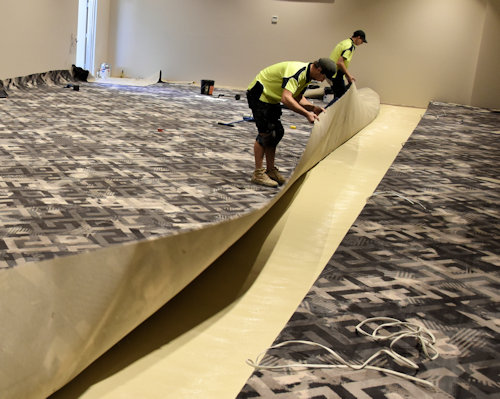
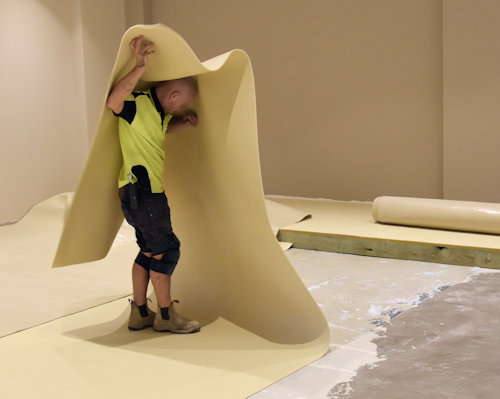
Wait for the adhesive to 'tack up', and then carefully lay the folded-back underlay into position on the adhesive.
Use the same procedure on the other half of the underlay.
Then trim in the underlay around the perimeter.
If you're working right to the wall without grippers, leave a gap to allow for a tuck finish in the carpet.
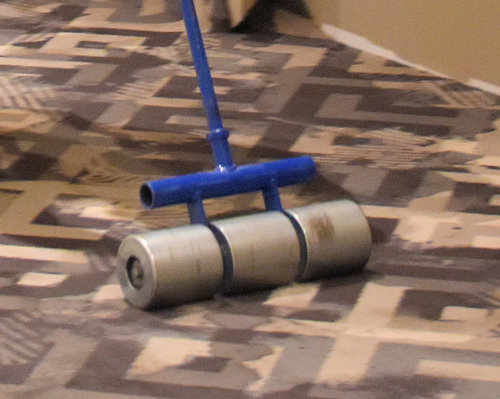
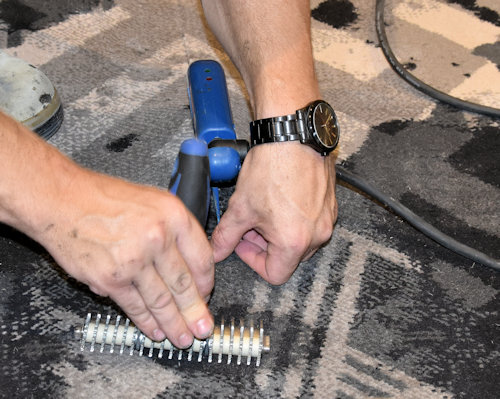
Use a roller to apply an even pressure over the whole area.

 Audio for slide 7 (mp3 |6|KB)
Seaming the carpet
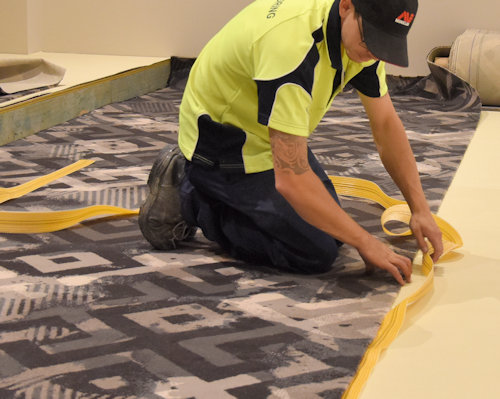
See the lesson page Seaming the carpet for the general techniques used to join carpet seams. The basic principles are the same as for conventionally laid stretched-in carpet.
If you're using a single-sided heat tape, you should spread adhesive underneath so it sticks down onto the underlay.
If you're using double-bond tape, you should only trowel up to the edges of the tape.
Don't forget to apply seam sealer to the join before bringing the two sides together.

 Audio for slide 8 (mp3 |6|KB)
Laying the carpet
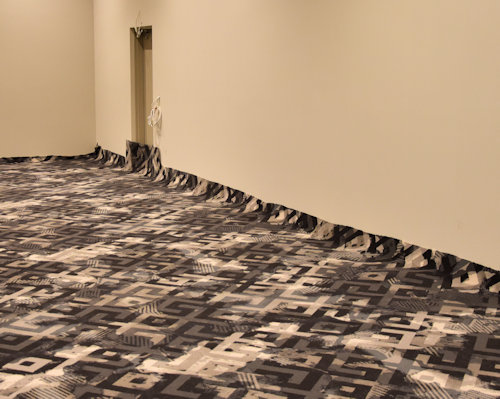
Cut the carpet oversize, as described in Section 3, and position the seams either at right angles to the underlay seams or offset by at least 300 mm.
Fold back one side of the carpet and spread the adhesive onto the underlay.
Use the same techniques as you did for sticking the underlay to the subfloor.
Note that the trowel size will be different now, and will vary depending on the type of carpet you're installing and the backing it uses.

 Audio for slide 10 (mp3 |6|KB)
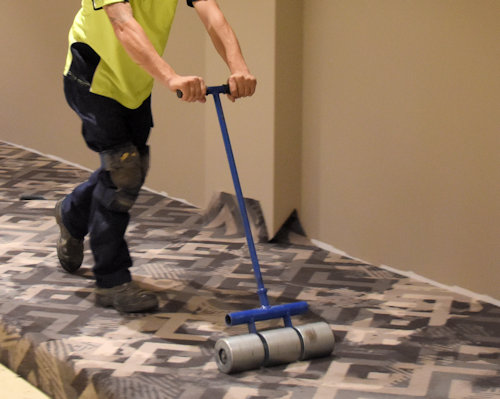
Use a roller to apply an even pressure to the whole surface area and roll out any wrinkles.
The carpet manufacturer will specify the most appropriate weight for the roller.
Eliminate bubbles by pressing straight down on the carpet before the adhesive sets.
Don't roll bubbles to the edge.
Repeat the same process on the other side of the carpet.
When both sides are done, roll the whole area from end to end and side to side.


Learning activity
Audio 12 (mp3 |6|KB)You will be asked to carry out a dual bond woven carpet installation as one of your practical demonstration events for this unit.
You should complete this learning activity as part of that demonstration.
Provide the following details in relation to the installation.
- Carpet - including product name, manufacturer and colour.
- Underlay - including product name and manufacturer.
- Adhesive - including product name and manufacturer.
- Subfloor description - including structure, materials used and condition of the surface.
- Subfloor preparation required - including brand names of any products used (such as levelling compounds, primers, etc).
- Floor covering plan - showing adjoining rooms, all relevant dimensions and features, position of seams and joins, and direction of the carpet pile.


