Applying patching compounds
 Audio for slide 2 (mp3 |6|KB)
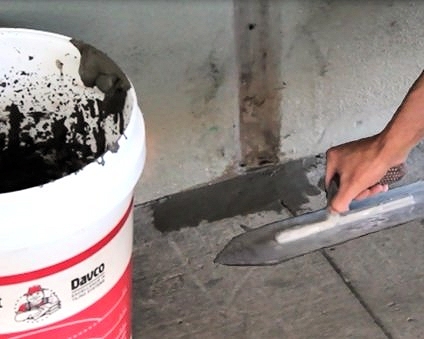
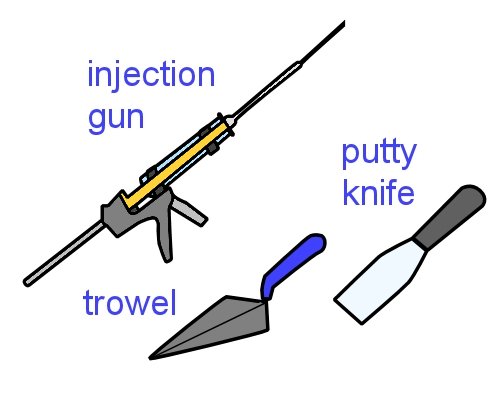
Some patching compounds are cement-based mortars and are applied with a putty knife or trowel. Others are made from epoxy or polyurethane, and can either be applied like a mortar or injected into the crack.
You should never use gypsum-based products, like water putty or cornice cement. These products are high in alkali and can destroy adhesives, they swell when they get wet, and they don't have sufficient long-term adhesion to last the lifetime of the floor.
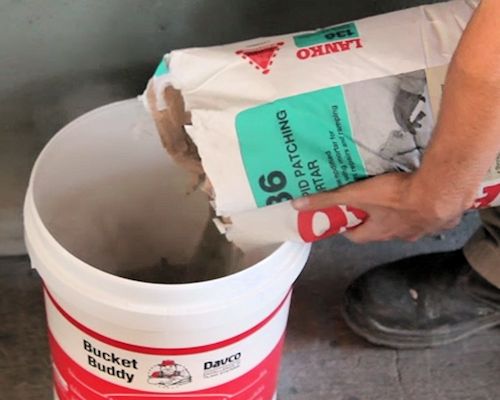
Set out below is the general installation procedure for a typical cement-based patching compound.

 Audio for slide 3 (mp3 |6|KB)
Preparation and installation procedure
- Make sure that the substrate is dry, firm and free from dust and any contaminants. Depending on the product and the type of substrate, you may need to prime the surface before applying the patching compound.
- Mix the powder with clean water in a mixing container to produce a mortar.


Learning activity
Audio 6 (mp3 |6|KB)Below is a link to a video clip demonstrating how to use Ardex Liquid Backerboard. At the beginning of the clip the installer mixes up a patching compound and applies it to a ply subfloor to fill the grooves between the plywood sheets.
Watch the clip and then answer the following questions relating to the patching compound:
- What is the mixing ratio of water to patching compound?
- What tool is used to apply the compound to the floor?
- What is the range of thicknesses that Ardex recommends for this compound?


Industry Network Training and Assessment Resourses
© 2023 Workspace Training


