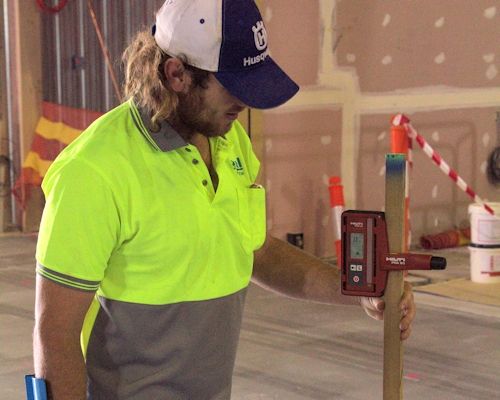
Applying levelling compounds
 Audio for slide 1 (mp3 |6|KB)
Some industrial compounds are water-based, latex-based or two-part epoxy resins.
Each product has its own range of features and is designed for particular applications.
The method of installation depends on the properties of the compound and the condition of the floor.
Set out below is the general installation procedure for a typical cement-based underlayment.

 Audio for slide 2 (mp3 |6|KB)
Preparation and installation procedure
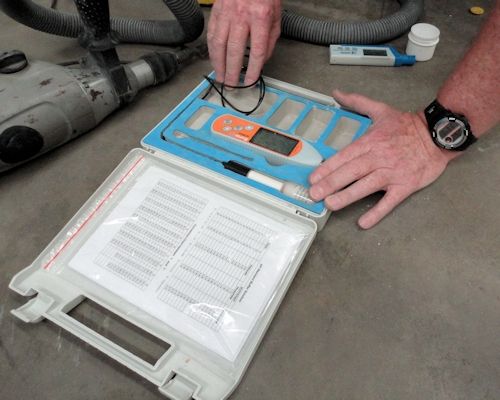
- Make sure that the subfloor surface meets the required standards. This includes checking that the moisture content and pH levels are suitable and that the surface is clean and properly prepared.
- Apply the primer specified by the manufacturer, using a sprayer, roller or brush. Wait the required amount of time for the primer to cure.

 Audio for slide 3 (mp3 |6|KB)
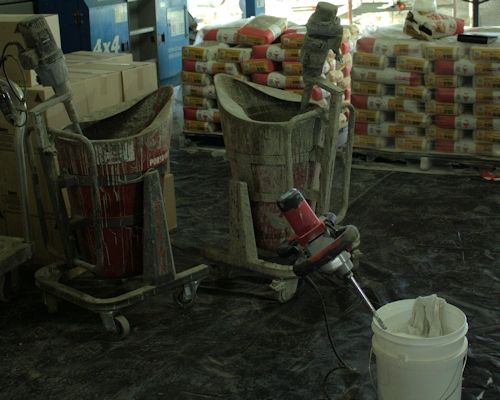
- Set up the area where you will mix the levelling compound. Make sure there is good ventilation and lighting. Cover the floor of the mixing area with plastic sheeting to make the clean-up process easier.
- Mix the levelling compound in a bucket using an electric drill and mixing paddle. Measure the proportions of water and compound accurately, according to the manufacturer's instructions, using measuring buckets.

 Audio for slide 4 (mp3 |6|KB)
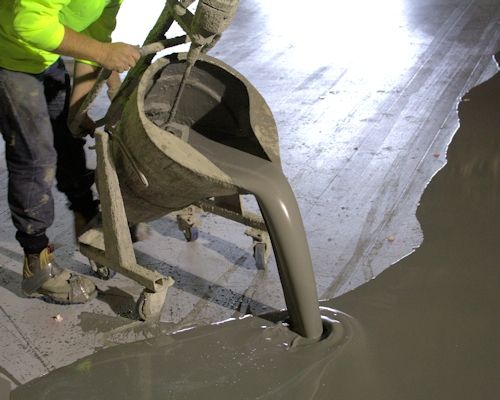
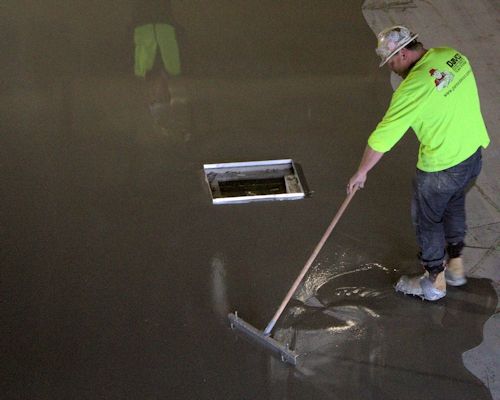
- Apply the levelling compound to the floor. Depending on the product and the thickness, you may need to use a steel trowel and/or a thickness spreader.
Most underlayments can be installed from a true 'feather edge' up to 6 mm thick.
For thicker application, some manufacturers specify aggregate as a filler.

 Audio for slide 6 (mp3 |6|KB)
Working to standards
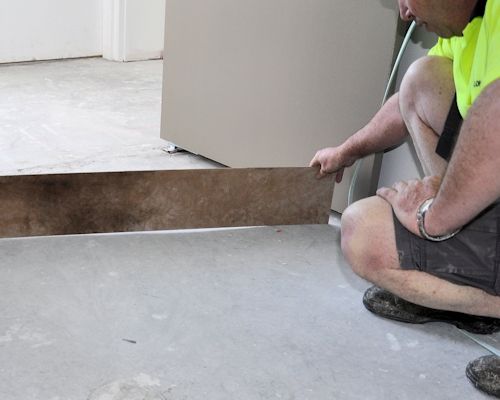
We talked about standards in the unit: Inspecting and testing subfloors.
You'll recall that the purpose of a 'standard' is to set the benchmark for what's considered an acceptable job.
This not only gives you a specific level of performance to work to, it also means that you have a basic standard that you can agree on with the client if there is ever a dispute about the quality of your work.

 Audio for slide 7 (mp3 |6|KB)
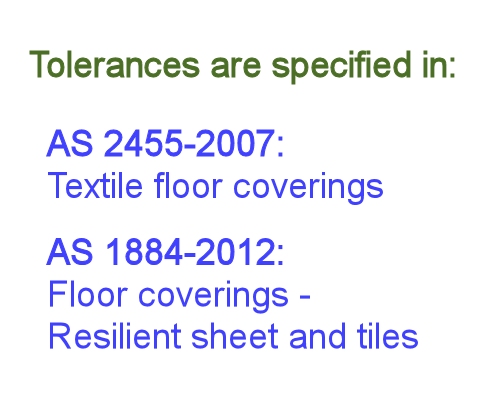
The Australian Standards that specify the tolerances allowed in the 'planeness' and 'smoothness' of a subfloor surface are:
- AS 2455-2007: Textile floor coverings - Installation practice
- AS 1884-2012: Floor coverings - Resilient sheet and tiles - Installation practices.
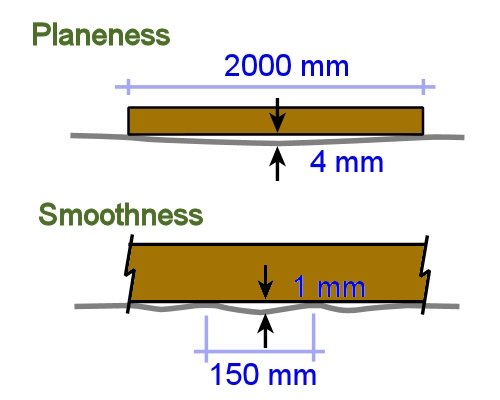
The tolerances set out in AS 1884-2012 are as follows.

 Audio for slide 8 (mp3 |6|KB)
Smoothness: When a 150 mm long straightedge is placed on a concrete floor, resting on two points, the maximum deviation is 1 mm.


Learning activity
Audio 9 (mp3 |6|KB)The link below will take you to a video produced by Concrete Artisans called 'Ardex floor preparation (part A)'.
Watch the clip and then answer the following questions:
- How did the installer minimise dust when he was using the grinder?
- Why did he put steel mesh down before laying the K15?
Ardex floor preparation (part A)


